So you’ve made the decision to take the plunge into the world of AI art generation. You searched online and came across countless Reddit posts and YouTube videos explaining how to get started, but they’re all written for a technical audience, with terminology you can’t decipher.
Fear not! In this article we will lay out the absolute basics of AI image generation, and we’ll get you up and running with workflows you can copy-paste that will have you creating simple AI images within an hour. Future articles will introduce more complex topics, expanding your toolkit and building your confidence as we tackle more complicated workflows.
Without further ado, let’s get started!

Do I Have the Right PC?
First things first, if your plan is to generate AI art locally on your PC, you will need to ensure you have the right hardware. Generating art is computationally intensive and requires three major components:
- A GPU built for AI tasks
- A GPU is a component that allows PCs to generate complex graphical imagery. These have historically been used in gaming PCs to power video games’ complex 3D graphics, but in recent years they have become favored for AI applications since their ability to handle parallel processing of massive data sets is ideal for AI tasks
- For AI image generation, you will need a GPU that can handle these complex AI tasks. Nvidia GPUs are favored here due to their tensor cores which are built specifically for AI tasks. An RTX 3060 is the minimum recommended GPU for AI image generation, but higher end GPUs (e.g., RTX 40-series or 50-series) will be faster and more efficient
- High VRAM (12GB+)
- VRAM (or “Virtual Random Access Memory”) is memory on a GPU that stores the graphics data required for the complex computations a GPU can perform. GPUs with low amount of VRAM will struggle to handle AI workflows and may be more likely to hang or crash
- When purchasing a GPU, ensure it has at least 12GB of VRAM. The more VRAM the GPU has the better, but 12GB should be sufficient for most workflows including text-to-image, image-to-image, text-to-video, and image-to-video. We have successfully generated 5-second videos with both text-to-video and image-to-video models with a Nvidia 40-series RTX GPU with 12GB of VRAM
- System RAM (16GB+)
- Not to be confused with VRAM, RAM (“Random Access Memory”) is memory that the PC uses during general operation
- 16GB should be sufficient for most workflows today, while 32GB will future-proof you against future improvements in AI workflows
Installing the Right Software
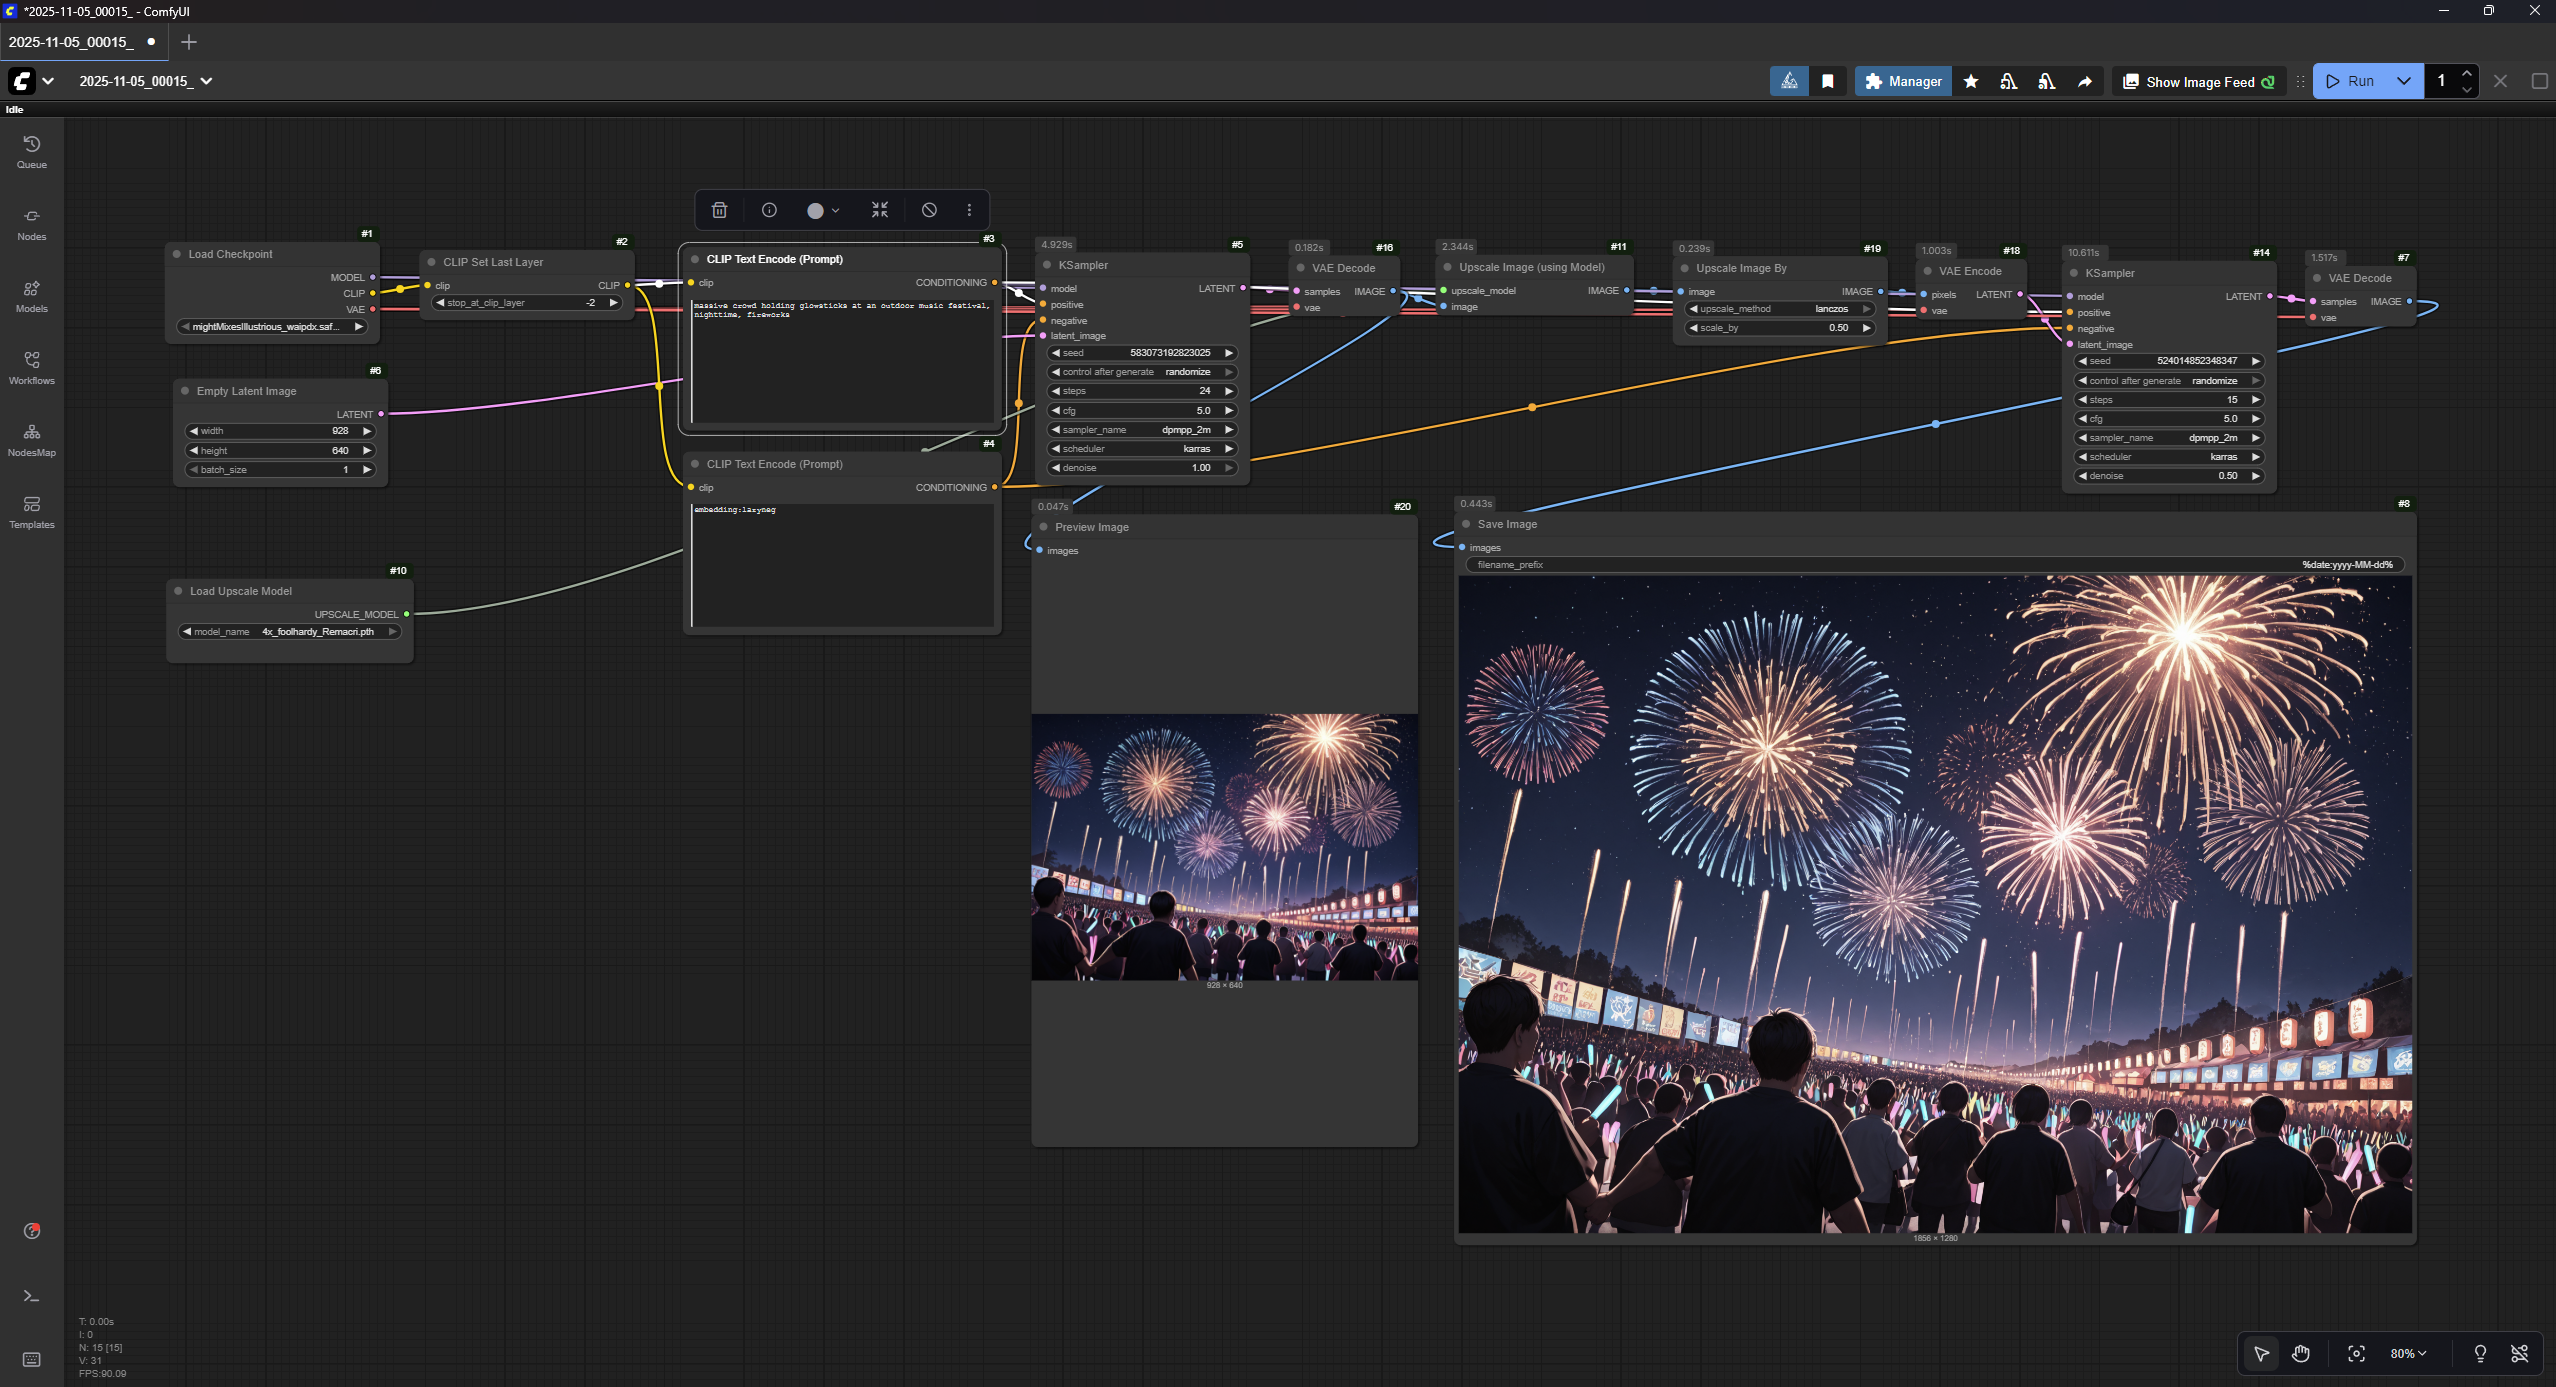
Assuming you have a PC that meets or exceeds the requirements above, the next thing we will do is install software that allows you to create, edit, and run AI image workflows. There are many options out there, but the most commonly recommended app is ComfyUI: a free, open-source app that allows you to visually set up and execute AI image workflows that look like this:
This may look complicated at first, but it’s a lot simpler than it looks and will all make sense once we walk through our first example. First things first though, let’s get ComfyUI installed and set up. Head to this link and click “Download ComfyUI”, then install it on your PC. Go ahead and boot it up and you should see something like this:
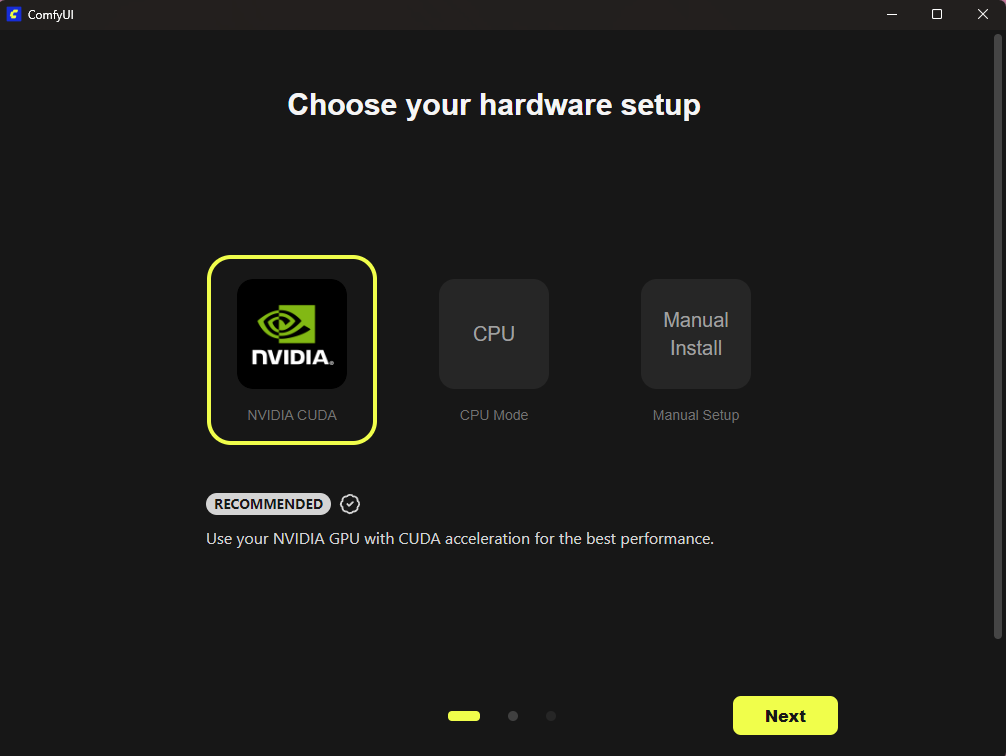
Assuming you are using a Windows PC with a Nvidia GPU, go ahead and pick the Nvidia option and hit next. Go ahead with the default options on the next two windows and finish the installation. Once it’s done, ComfyUI should boot up and you’ll see this screen:
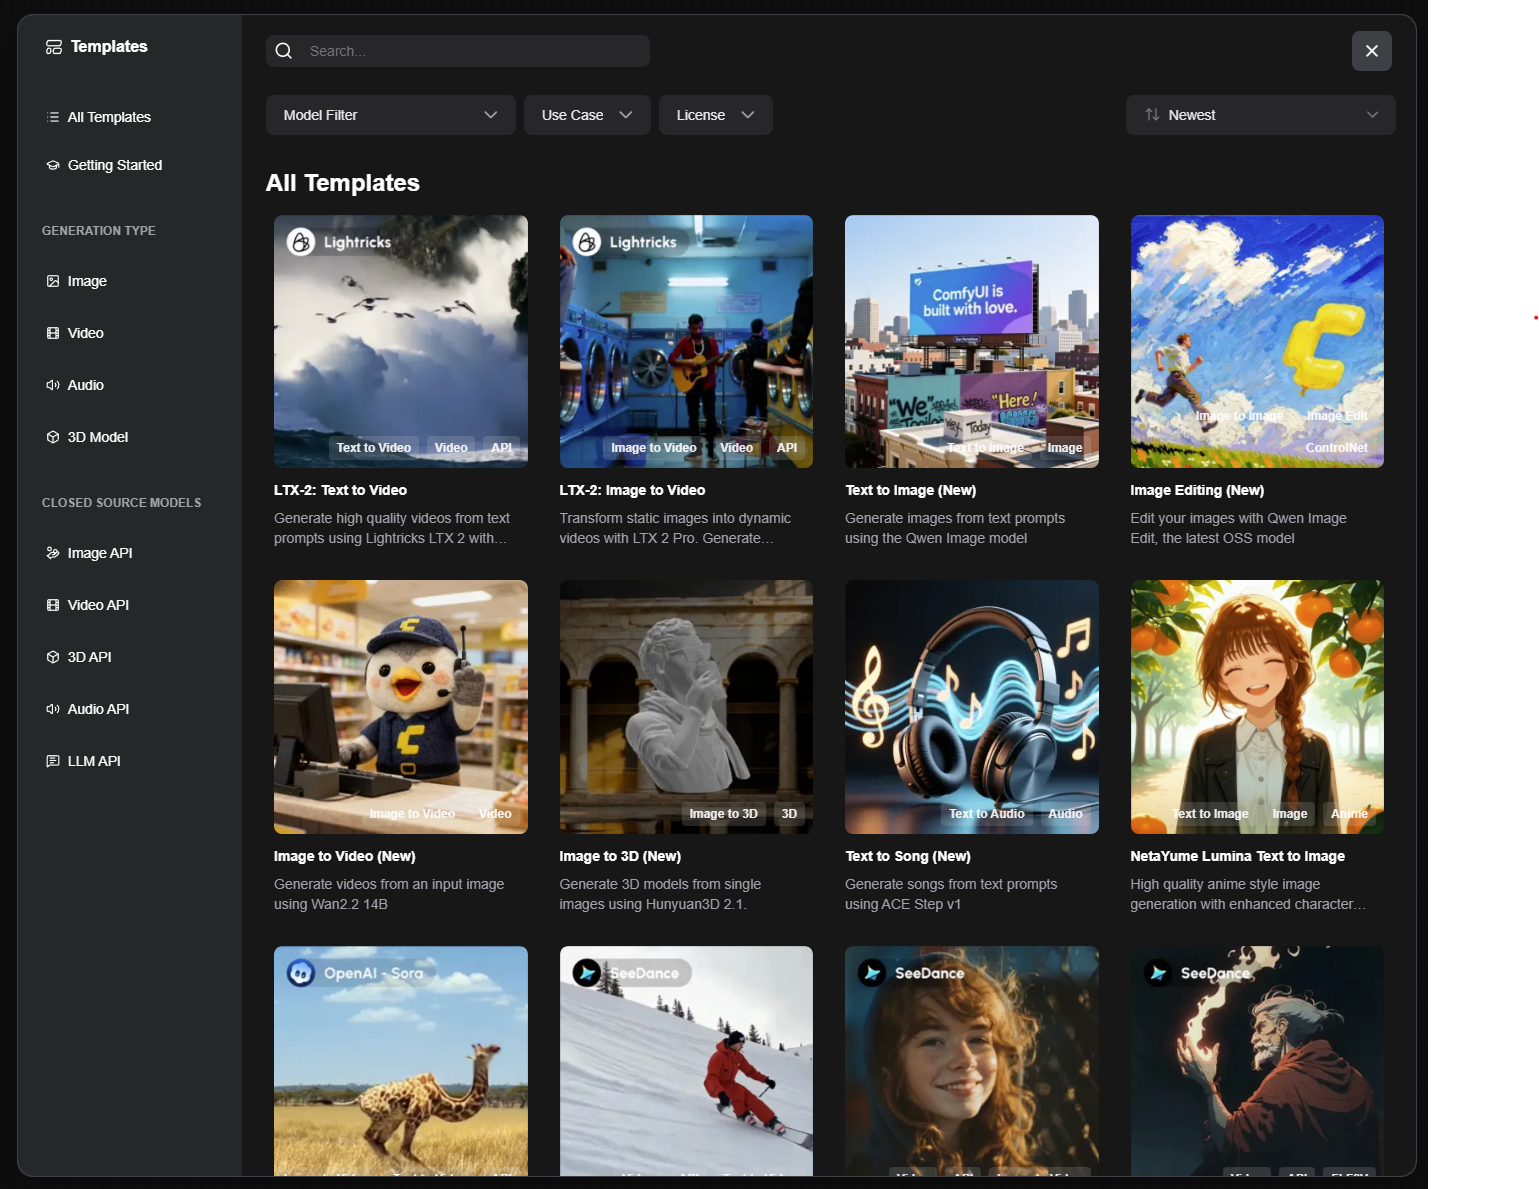
This provides some templates that you can pick from, but we’re going to ignore this for now since we want to install ComfyUI manager first, which will automate and simplify things like downloading models and nodes. This is going to be the most technical part of this guide, but shouldn’t be too difficult if you follow these steps:
- Find the folder where you installed ComfyUI (e.g., C:\Users\yourname\Documents\ComfyUI)
- Click on the address bar in Windows explorer and copy this address
- Open up Terminal (click on your Start menu and search for Terminal) then in the window that opens up type in “cd” followed by the installation directory you copied in the previous step
- It should look something like this if you used the default installation folder: “cd C:\Users\yourname\Documents\ComfyUI\custom_nodes”
- Press enter and let it do its thing, then when it’s done close out Terminal and restart ComfyUI. You should now see a new “Manager” button at the top of the app:
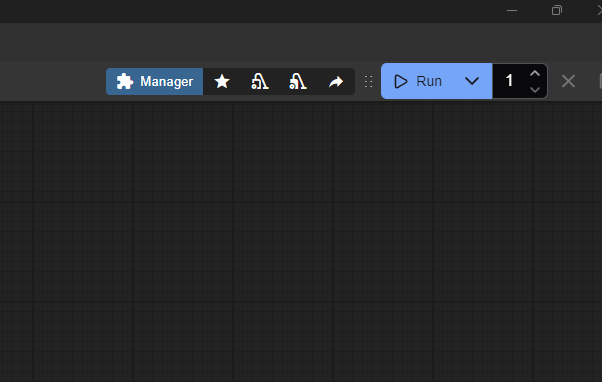
You’re now ready to start generating AI art! Let’s start with a quick beginner workflow that can get you started generating art within a few minutes.
Setting Up Your First AI Image Workflow
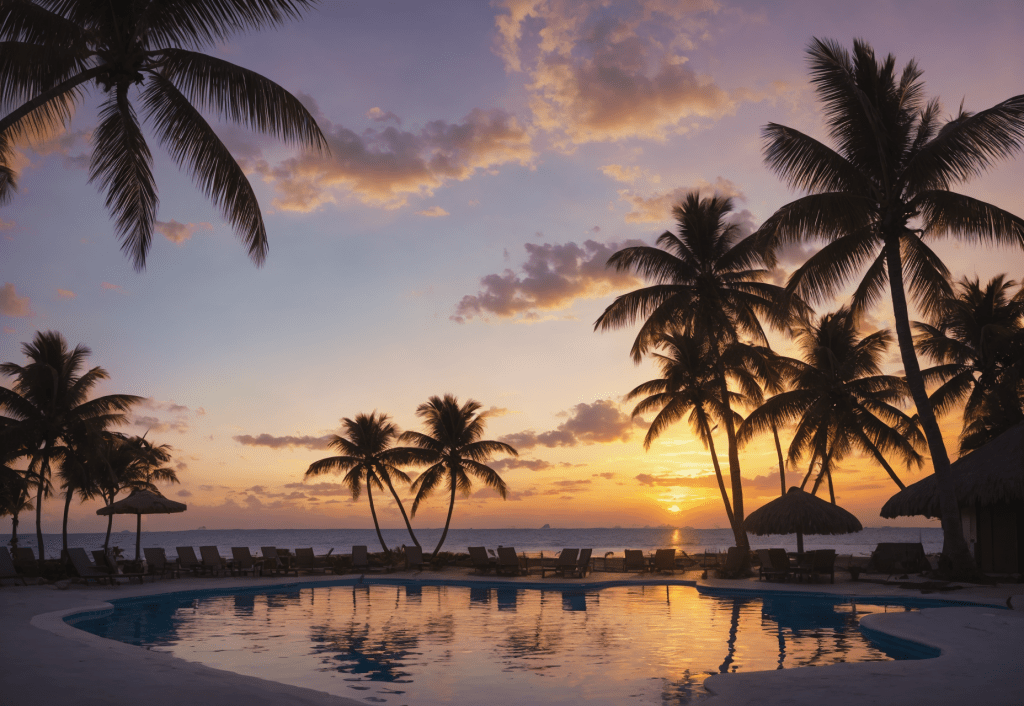
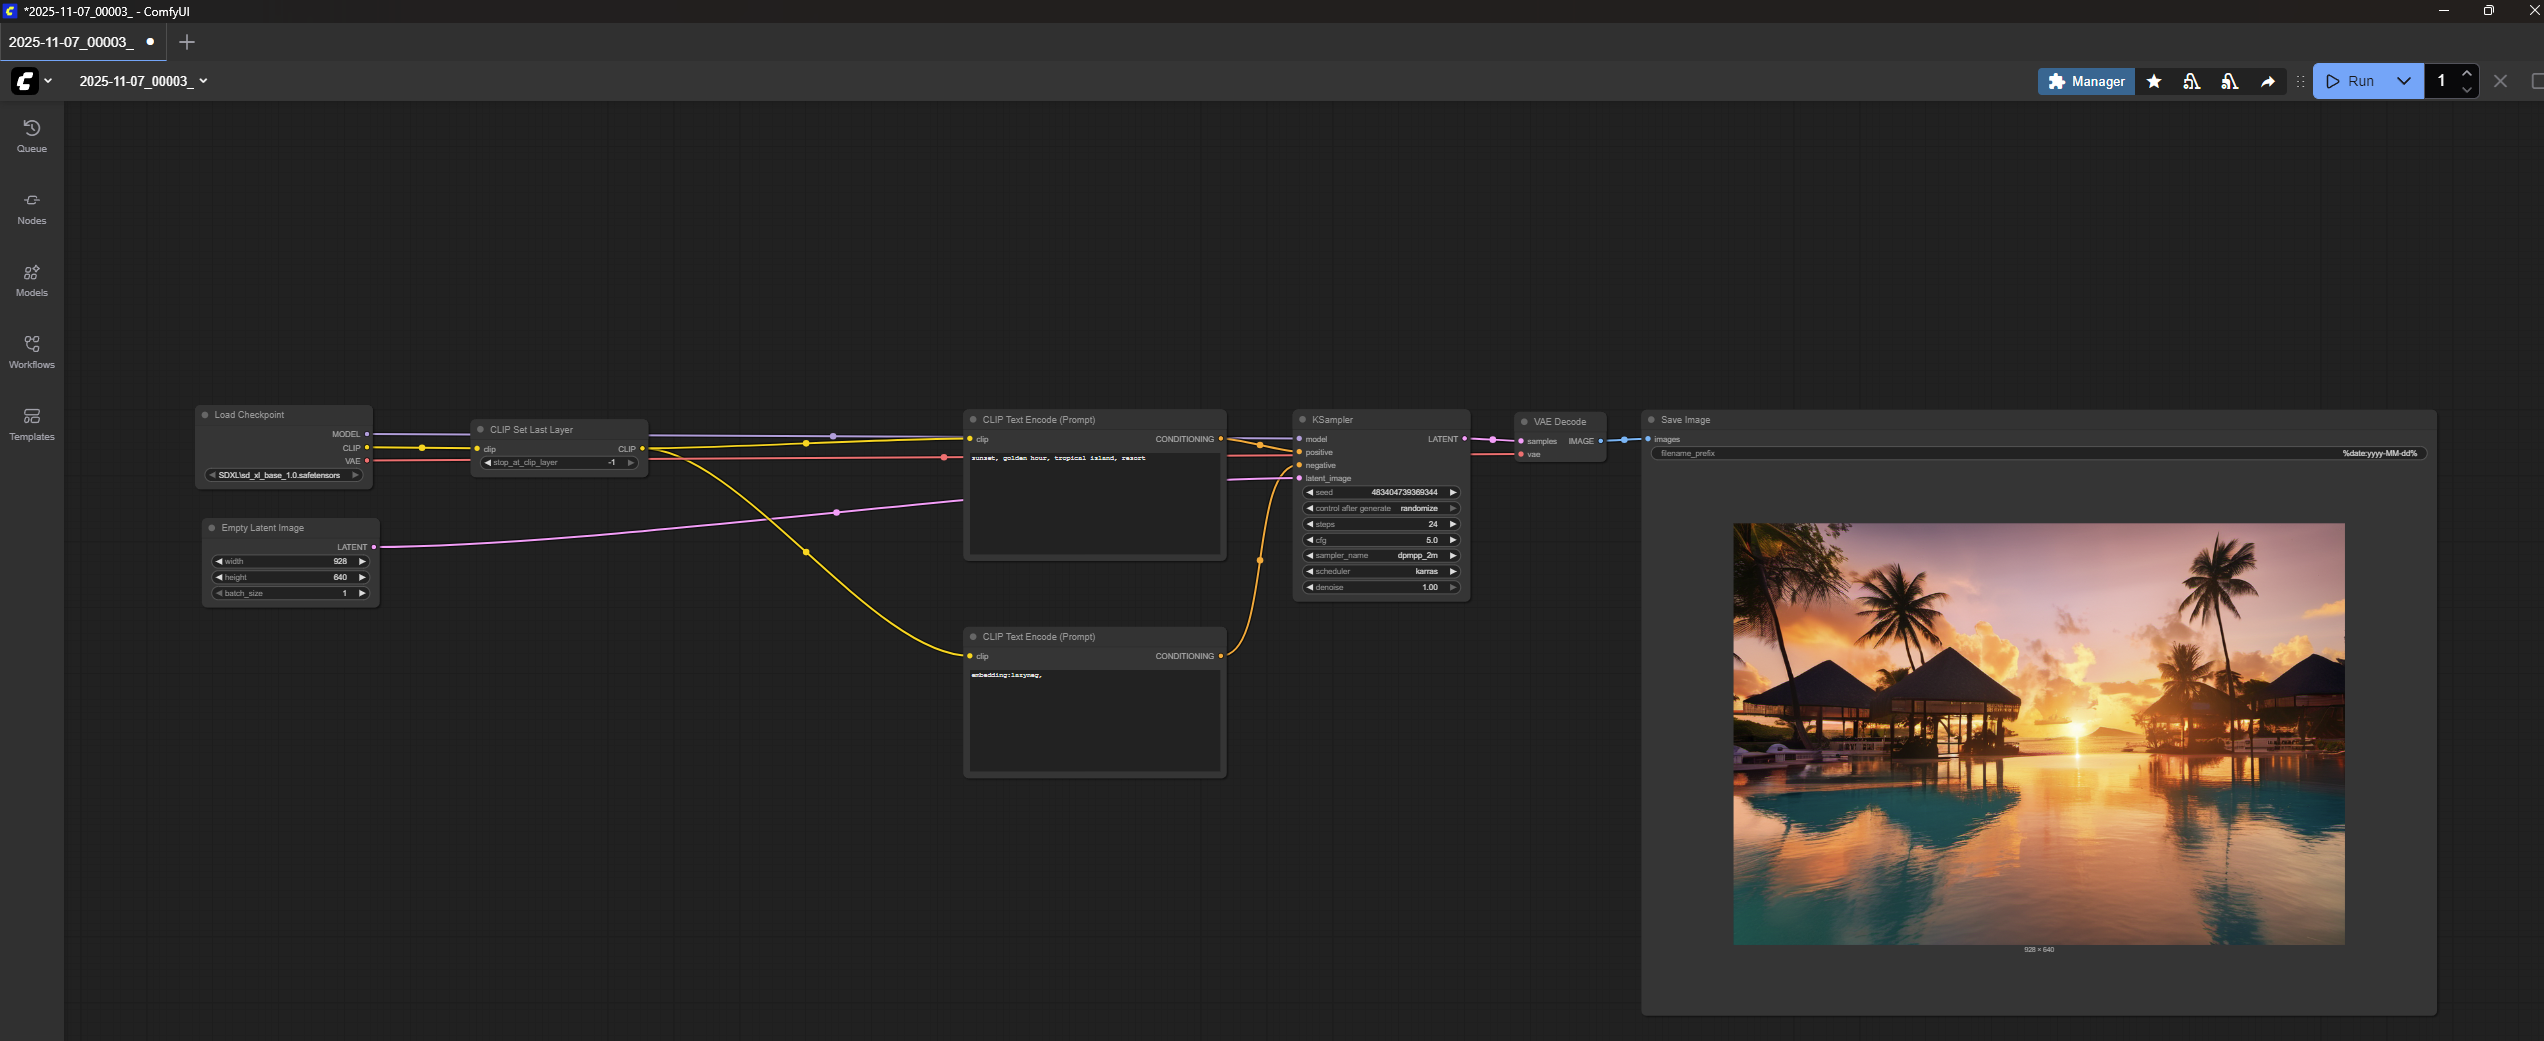
Let’s go ahead and create an image of a resort on a tropical island during sunset. Normally you’d have to start from scratch and build out an AI image generation workflow manually, but the nice thing about ComfyUI is that if you can find another image that was generated via ComfyUI, you can simply drag and drop it into the app and it will automatically show you the workflow that was used to generate that image. This is really handy because it means you can just import workflows that someone else has already built, and then just tweak them to suit your needs.
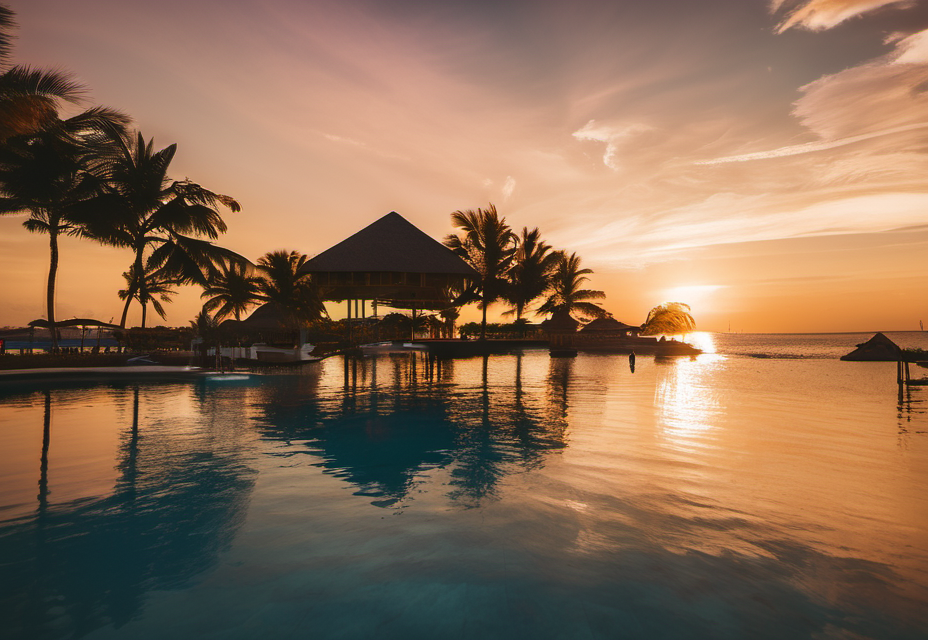
The image above was created in ComfyUI. Go ahead and drag and drop this image into ComfyUI. It should auto-populate a workflow that looks like this:
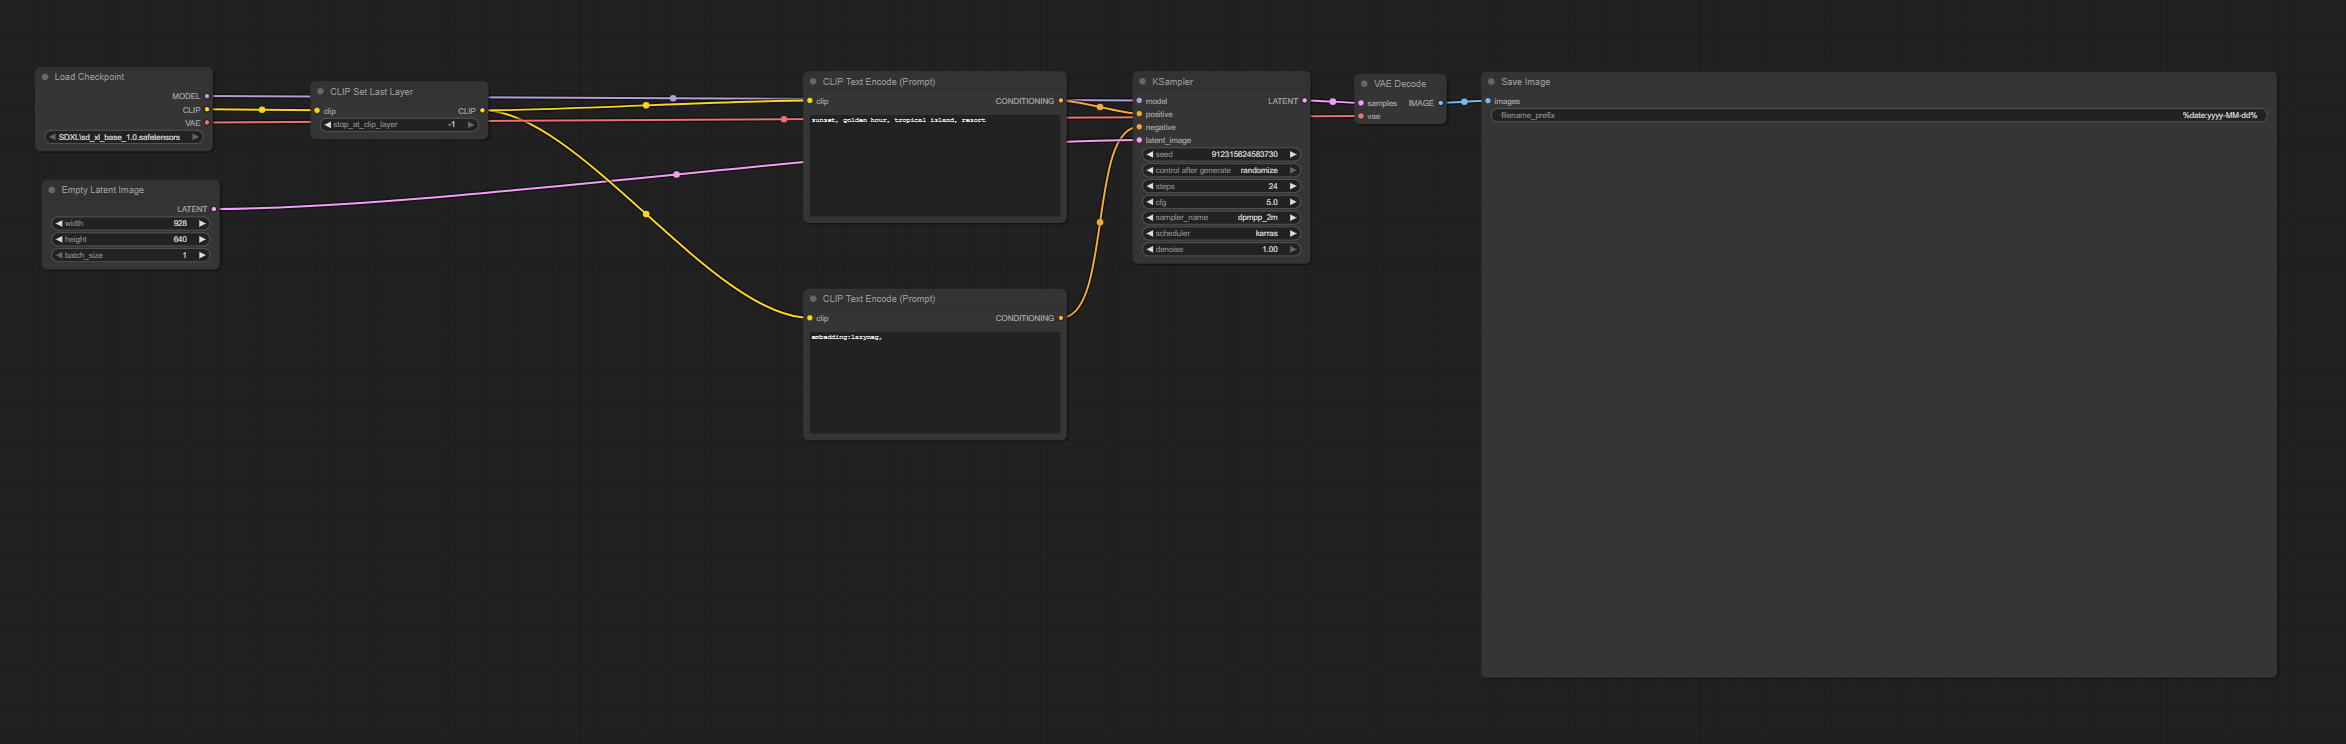
This looks complicated, but don’t worry about that for now. We will explain how all these pieces work together in future articles. For now go ahead and click the “run” button (or press Ctrl + Enter). You should get an error that looks like this:

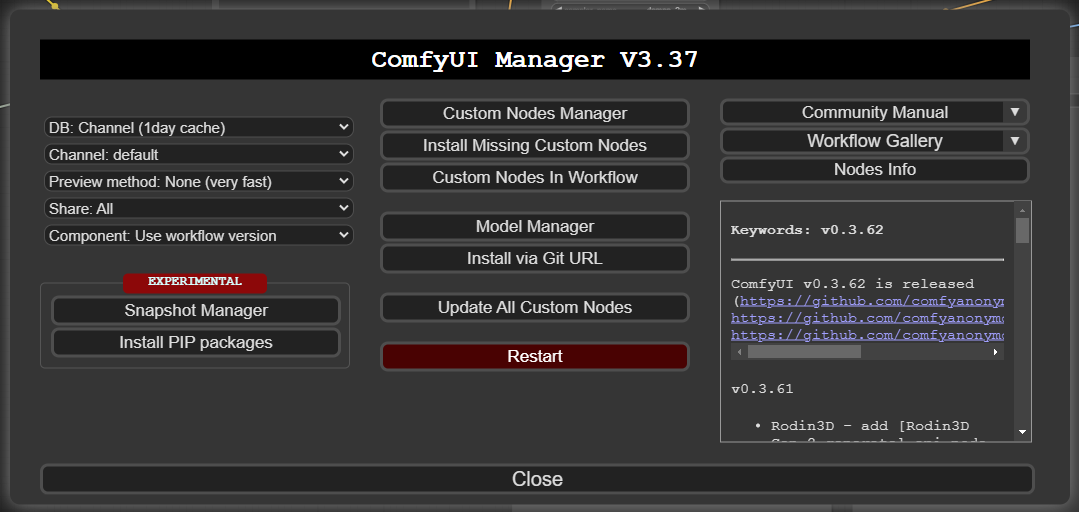
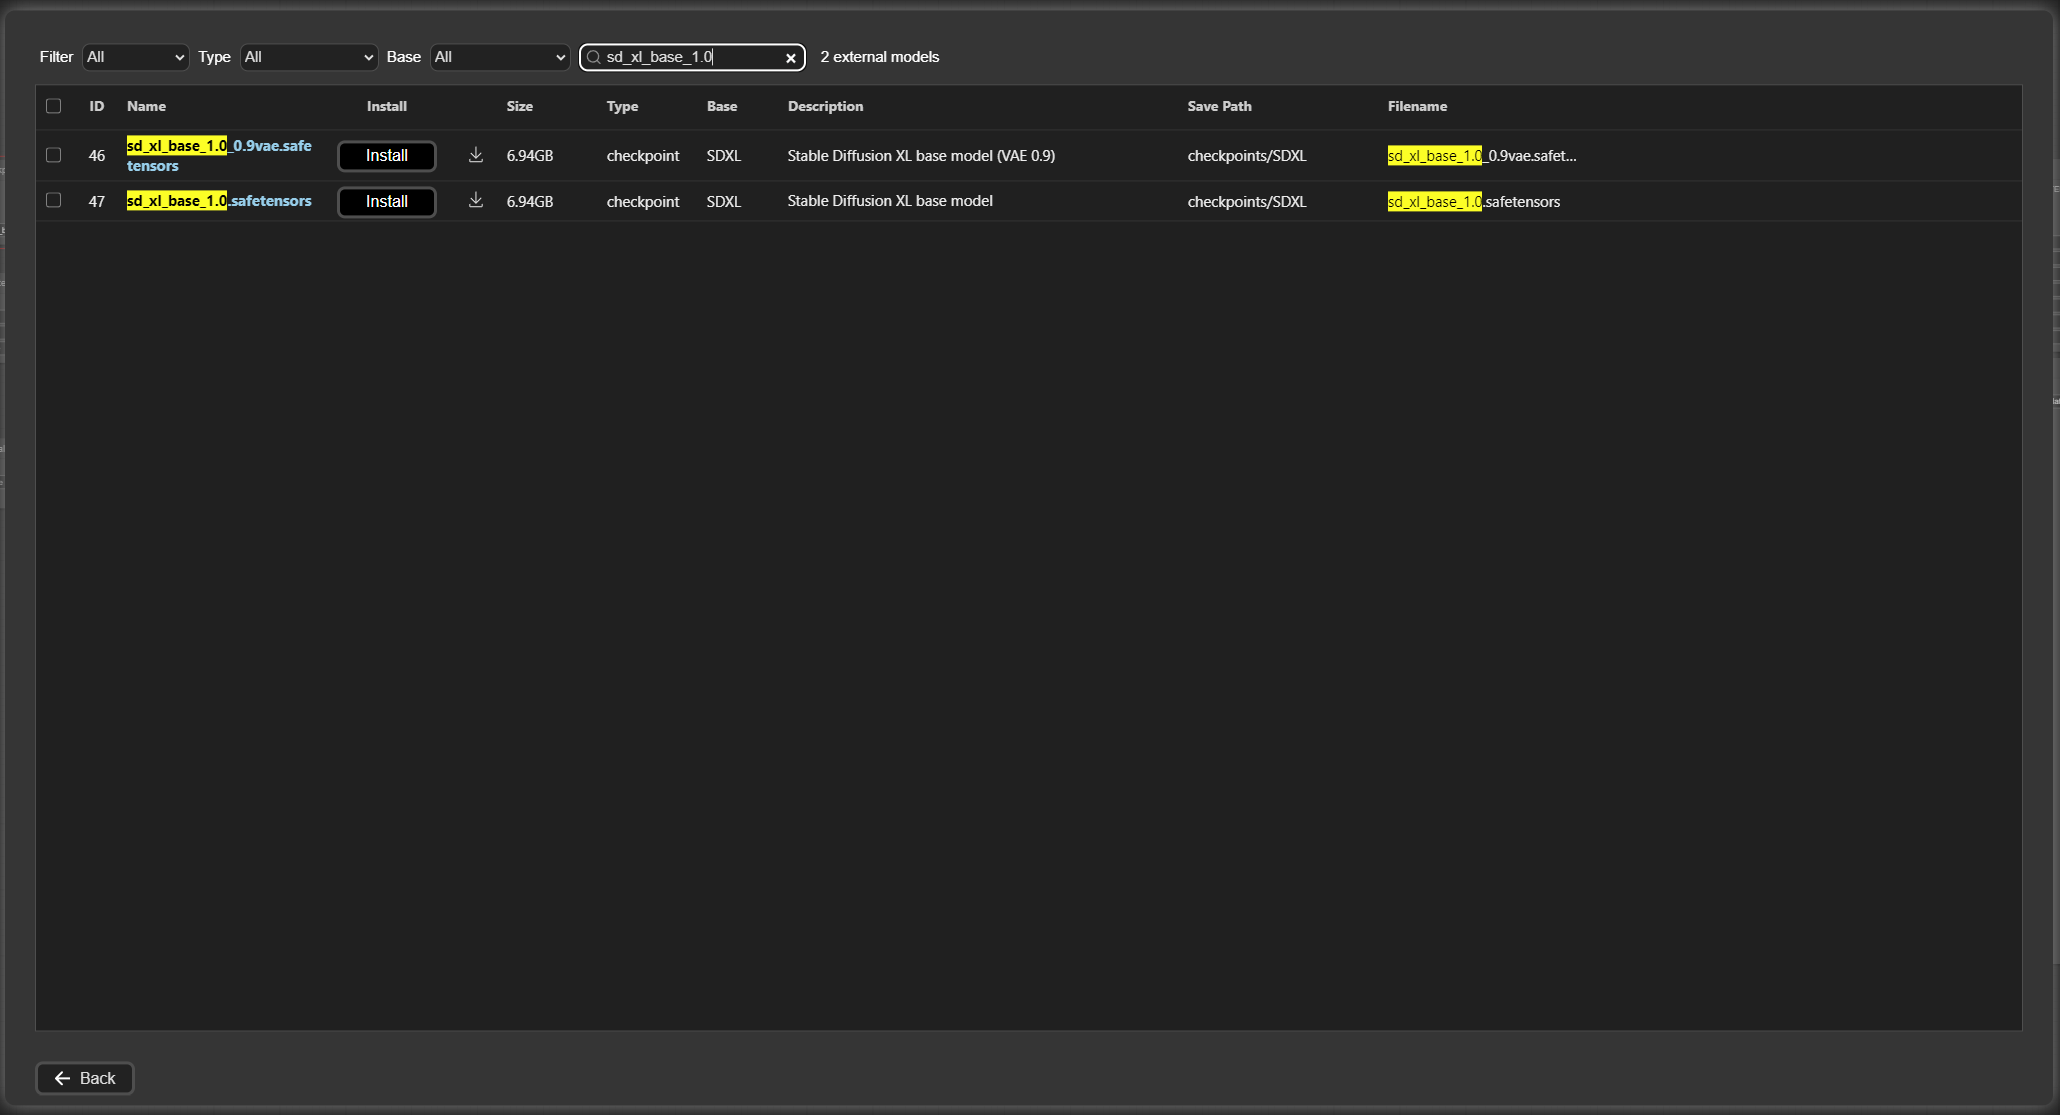
This looks scary, but all it’s saying is “you’ve asked me to generate this image using a model named sd_xl_base_1.0, but I don’t have access to this model”. This is because whenever you generate images using AI, you need to specify which AI model it should use. Unlike something like ChatGPT which is hosted on a server, you are attempting to generate images locally on your PC, which means you need to have a model downloaded locally on your PC. Luckily, we installed ComfyUI Manager earlier, which should help us out here. Close out this error message and click on “Manager” at the top of the app. In the menu that opens up, click on “Model Manager” then type “sd_xl_base_1.0” into the search bar:
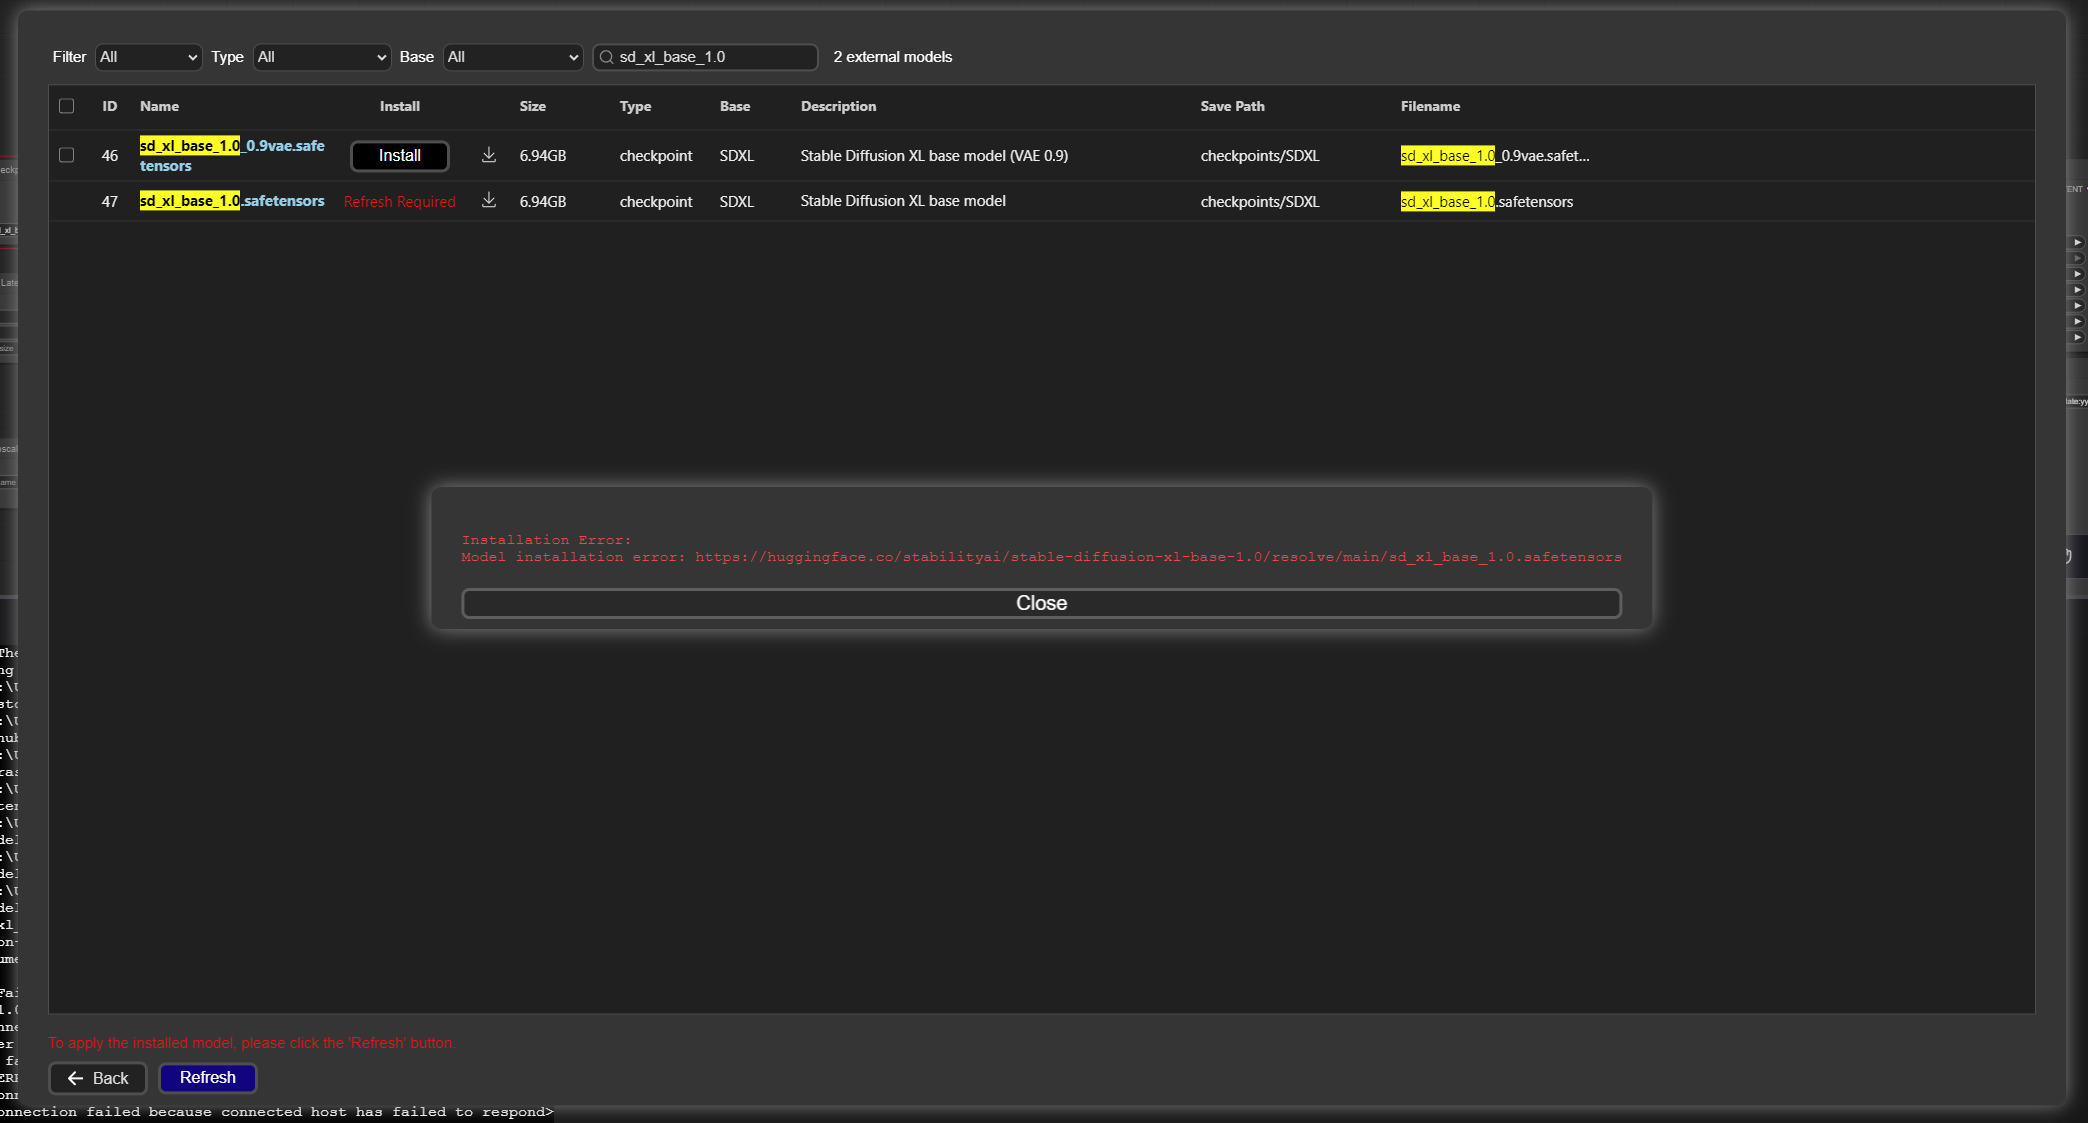
Find “sd_xl_base_1.0” in the list and click the install button. ComfyUI manager will now download this model and install it in the appropriate directory on your PC. If you get an error that says you need to refresh, click on “Refresh” at the bottom of ComfyUI Manager and then try downloading the model again:
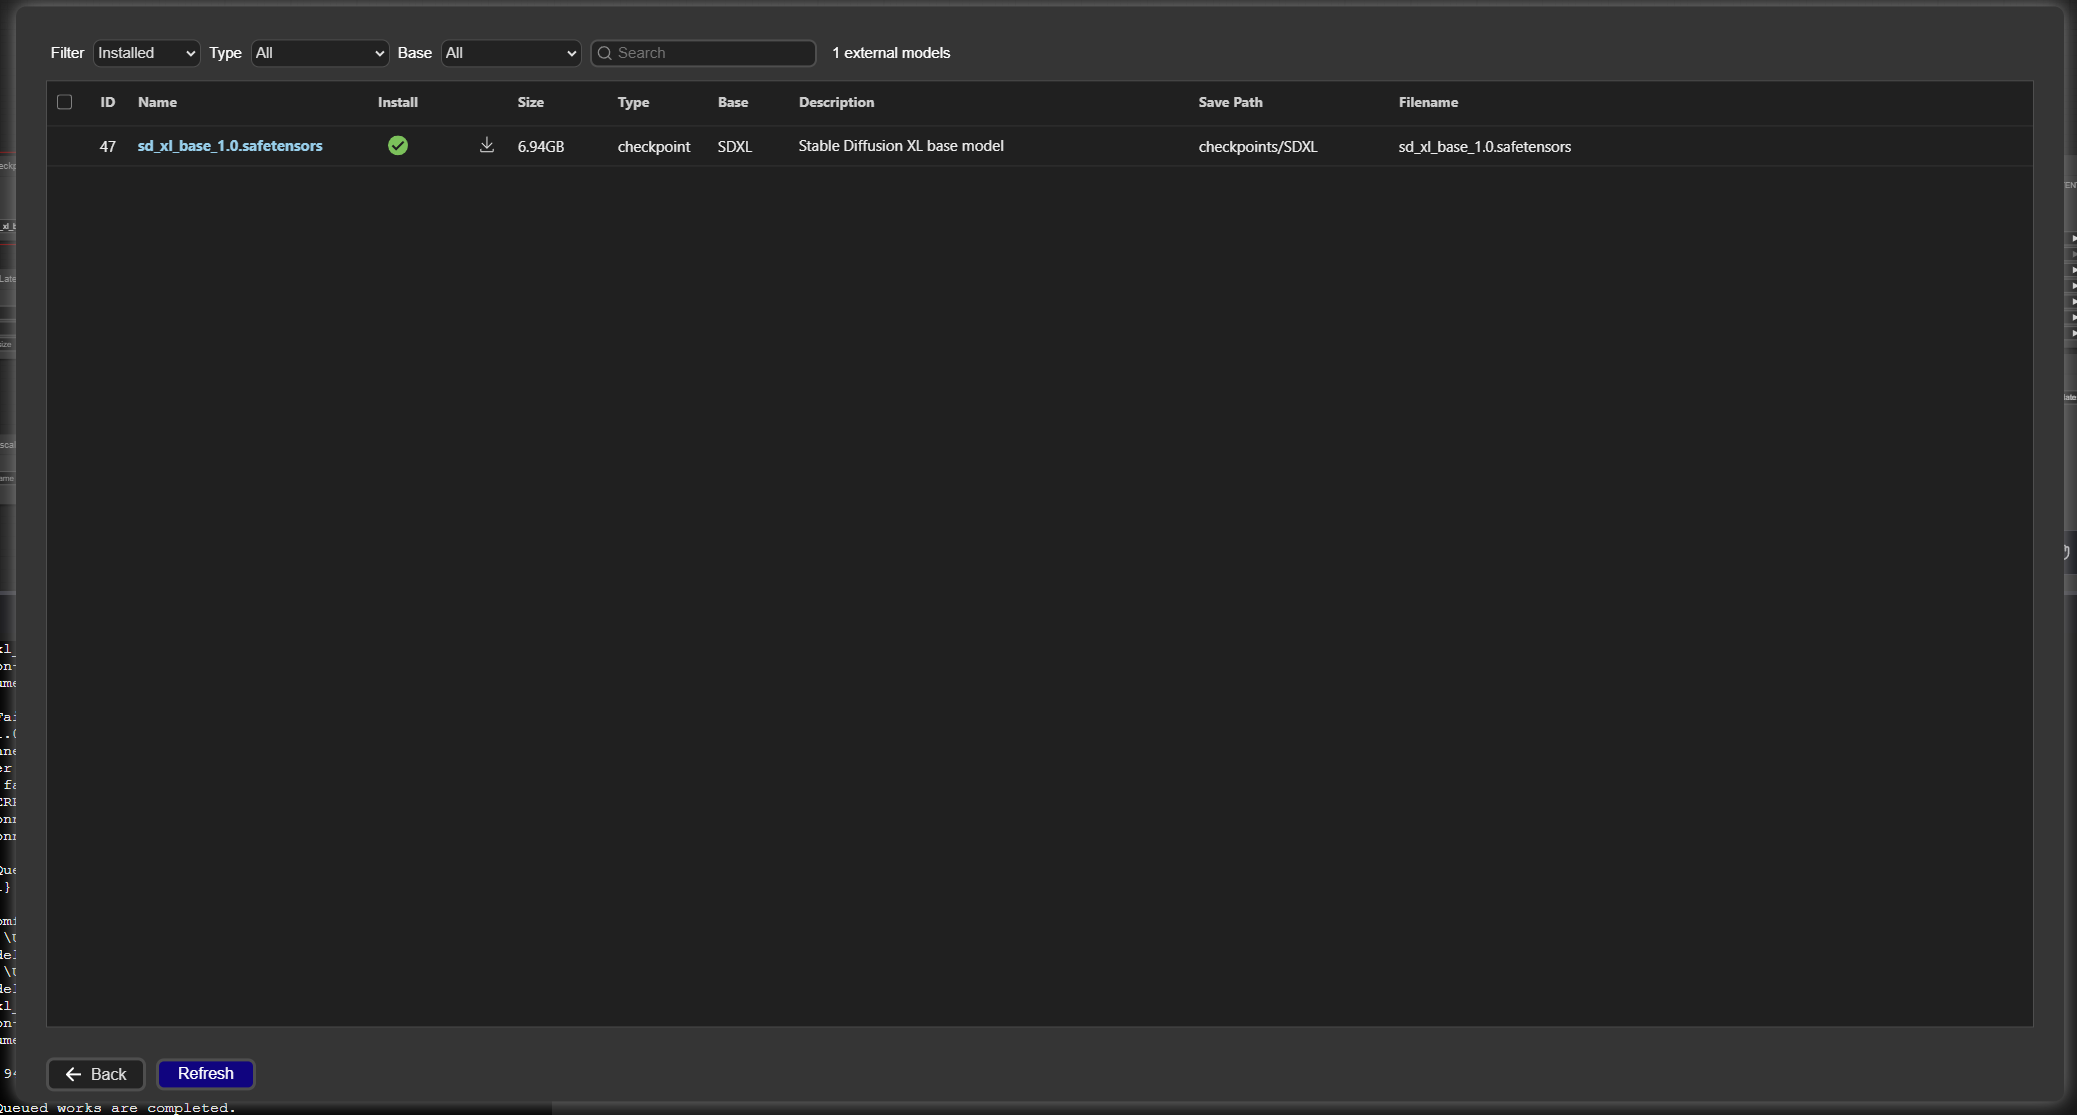
Once the model is downloaded, it will ask you to refresh in order to install the new model. Click “Refresh” at the bottom one more time and the model should be installed. You can verify this by going back into the model manager and filtering by “Installed” at the top left. This should show you that the sd_xl_base_1.0 model is installed:
Now close out the ComfyUI manager and go back to the main workflow page:

You’ll see a large panel on the bottom half of the screen showing you the details of the model installation. Hit the x button to close that bottom panel, then zoom into the top left square in the workflow titled “Load Checkpoint”. Click on the model name (SDXL\sd_xl_base_1.0) and you should see a dropdown menu that shows all the models you have installed:
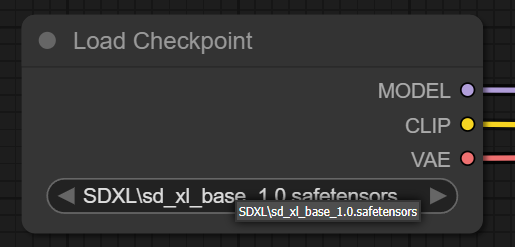
Since you only have one model installed currently, go ahead and select sd_xl_base_1.0 in the dropdown menu. You have now successfully installed your first model! Run the workflow (again, by hitting “Run” in the top right or pressing “Ctrl + Enter” on your keyboard), and voila! You just generated your first AI image!
Just like that, you now have a workflow that allows you to generate AI images based on a text prompt!
Looking Ahead
Congratulations, you now have a working AI image generation workflow on your PC! If you’d like to test this with some new prompts, feel free to edit the text in the box titled “CLIP Text Encode (Prompt)” and run the workflow again. You will keep generating new images based on whatever prompt you give the model.
This is a very basic workflow that should be sufficient for basic image generation tasks. However, we are just scratching the surface and there is a lot more we can do to improve the quality of the images. In future articles, we will explore topics like installing new models, upscaling images so they don’t look blurry on larger screens, and the different settings you can tweak when running an image model to fine tune the output. For now though, play around with the workflow you have and try generating new images! We’ll see you next time!

Leave a comment